The Cypress test suite contains system tests verifying the most important features of Artemis.
System tests test the whole system and therefore require a complete deployment of Artemis first.
In order to prevent as many faults (bugs) as possible from being introduced into the develop branch,
we want to execute the Cypress test suite whenever new commits are pushed to a Git branch
(just like the unit and integration test suites).
To accomplish this we need to be able to dynamically deploy multiple different instances of Artemis at the same time.
An ideal setup would be to deploy the whole Artemis system using Kubernetes.
However, this setup is too complex at the moment.
The main reason for the complexity is that it is very hard to automatically setup Docker containers for
the external services (e.g. Gitlab, Jenkins) and connect them directly with Artemis.
Therefore, the current setup only dynamically deploys the Artemis server and configures it to connect to
the prelive system, which is already properly setup in the university data center.
Sometimes developers need to set up Cypress locally, in order to debug failing E2E tests or write new tests.
Follow these steps to create your local cypress instance:
Install dependencies
First head into the cypress folder by using cdsrc/test/cypress. Now run npminstall.
Customize Cypress settings
To connect cypress to our local Artemis instance, we need to adjust some configurations.
First we need to set the URL or IP of the Artemis instance in the cypress.config.ts file.
Adjust the baseUrl setting to fit your setup (e.g. baseUrl:'http://localhost:9000',)
Adjust user settings
We also need to adjust the user setting, which will determine the usernames and passwords, that cypress
will use. These settings are located within the cypress.env.json file. If you use the Atlassian setup,
the file should typically look like this:
The USERID part will be automatically replaced by different user ids. These are set within the support/users.ts file.
By default the users 100-106 will be used by Cypress, if these users do not exist on your instance yet set createUsers to true.
Open Cypress browser
If you want to use a different browser than chrome, you can set this within the package.json file
within the cypress subfolder like this "cypress:open":"cypressopen--browser=edge",.
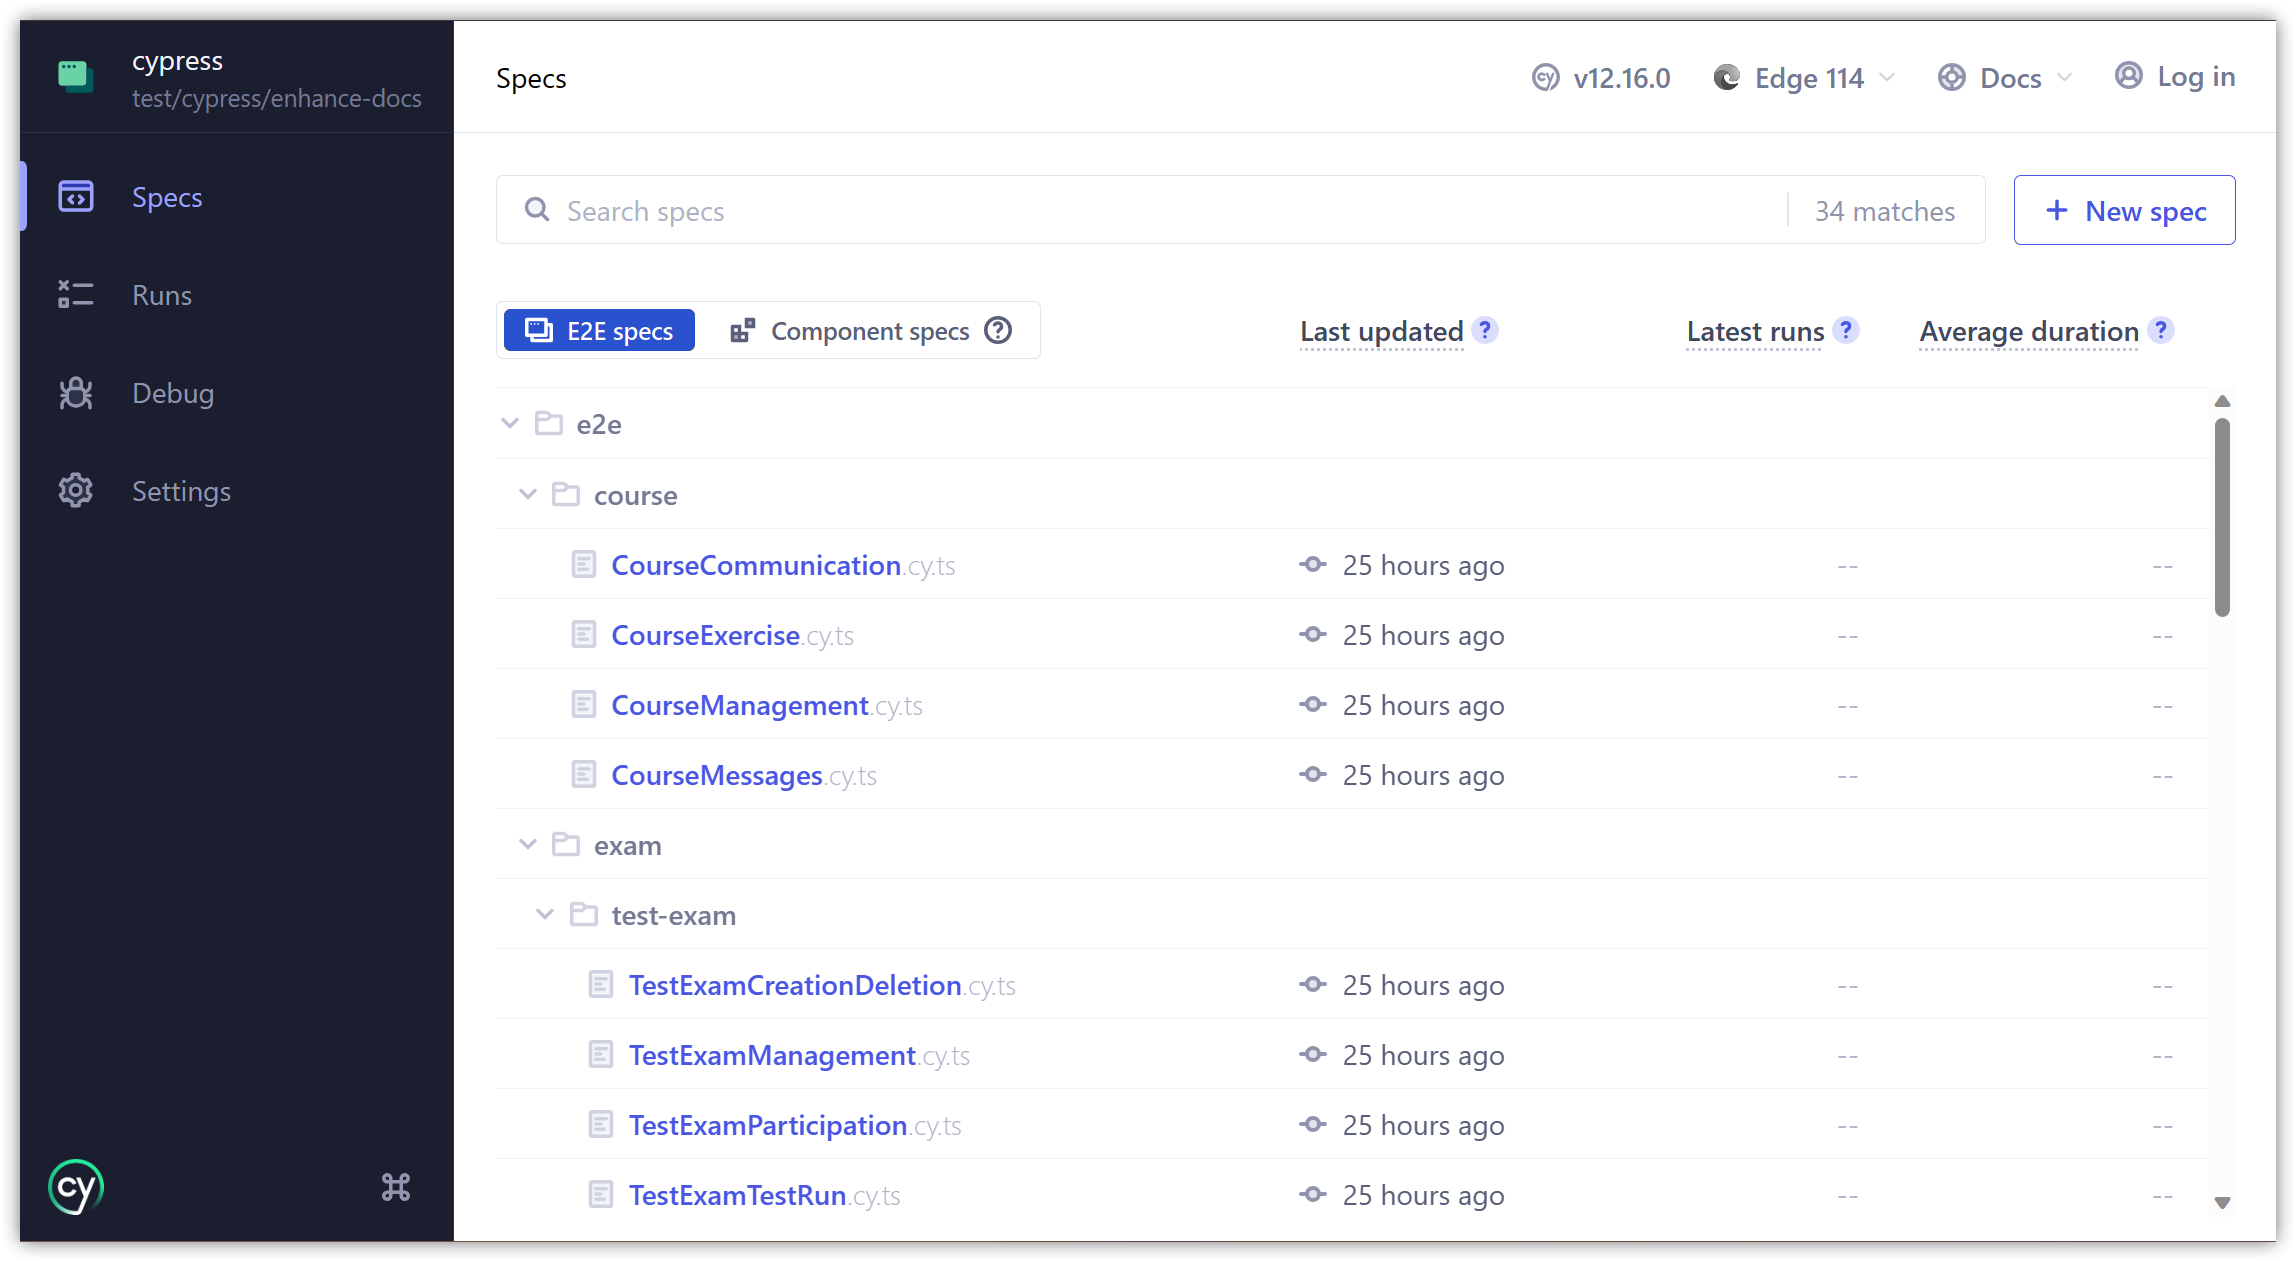
To now run the test suites selectively instead of in full, we need to open the cypress
browser, which is by default chrome by running the following command npmruncypress:open.
Now select E2ETesting, followed by StartE2Etestingin.... A new browser window
should open, which should look like this:
You can now click on any test suite and it should run.
Warning
IMPORTANT: If you run the E2E tests for the first time, always run the ImportUsers.ts tests first,
since it will create the necessary users.
Since the E2E tests are sometimes hard to debug, we provide a dashboard, that allows to inspect the
CI run and even watch a video of the UI interaction with Artemis in that run.
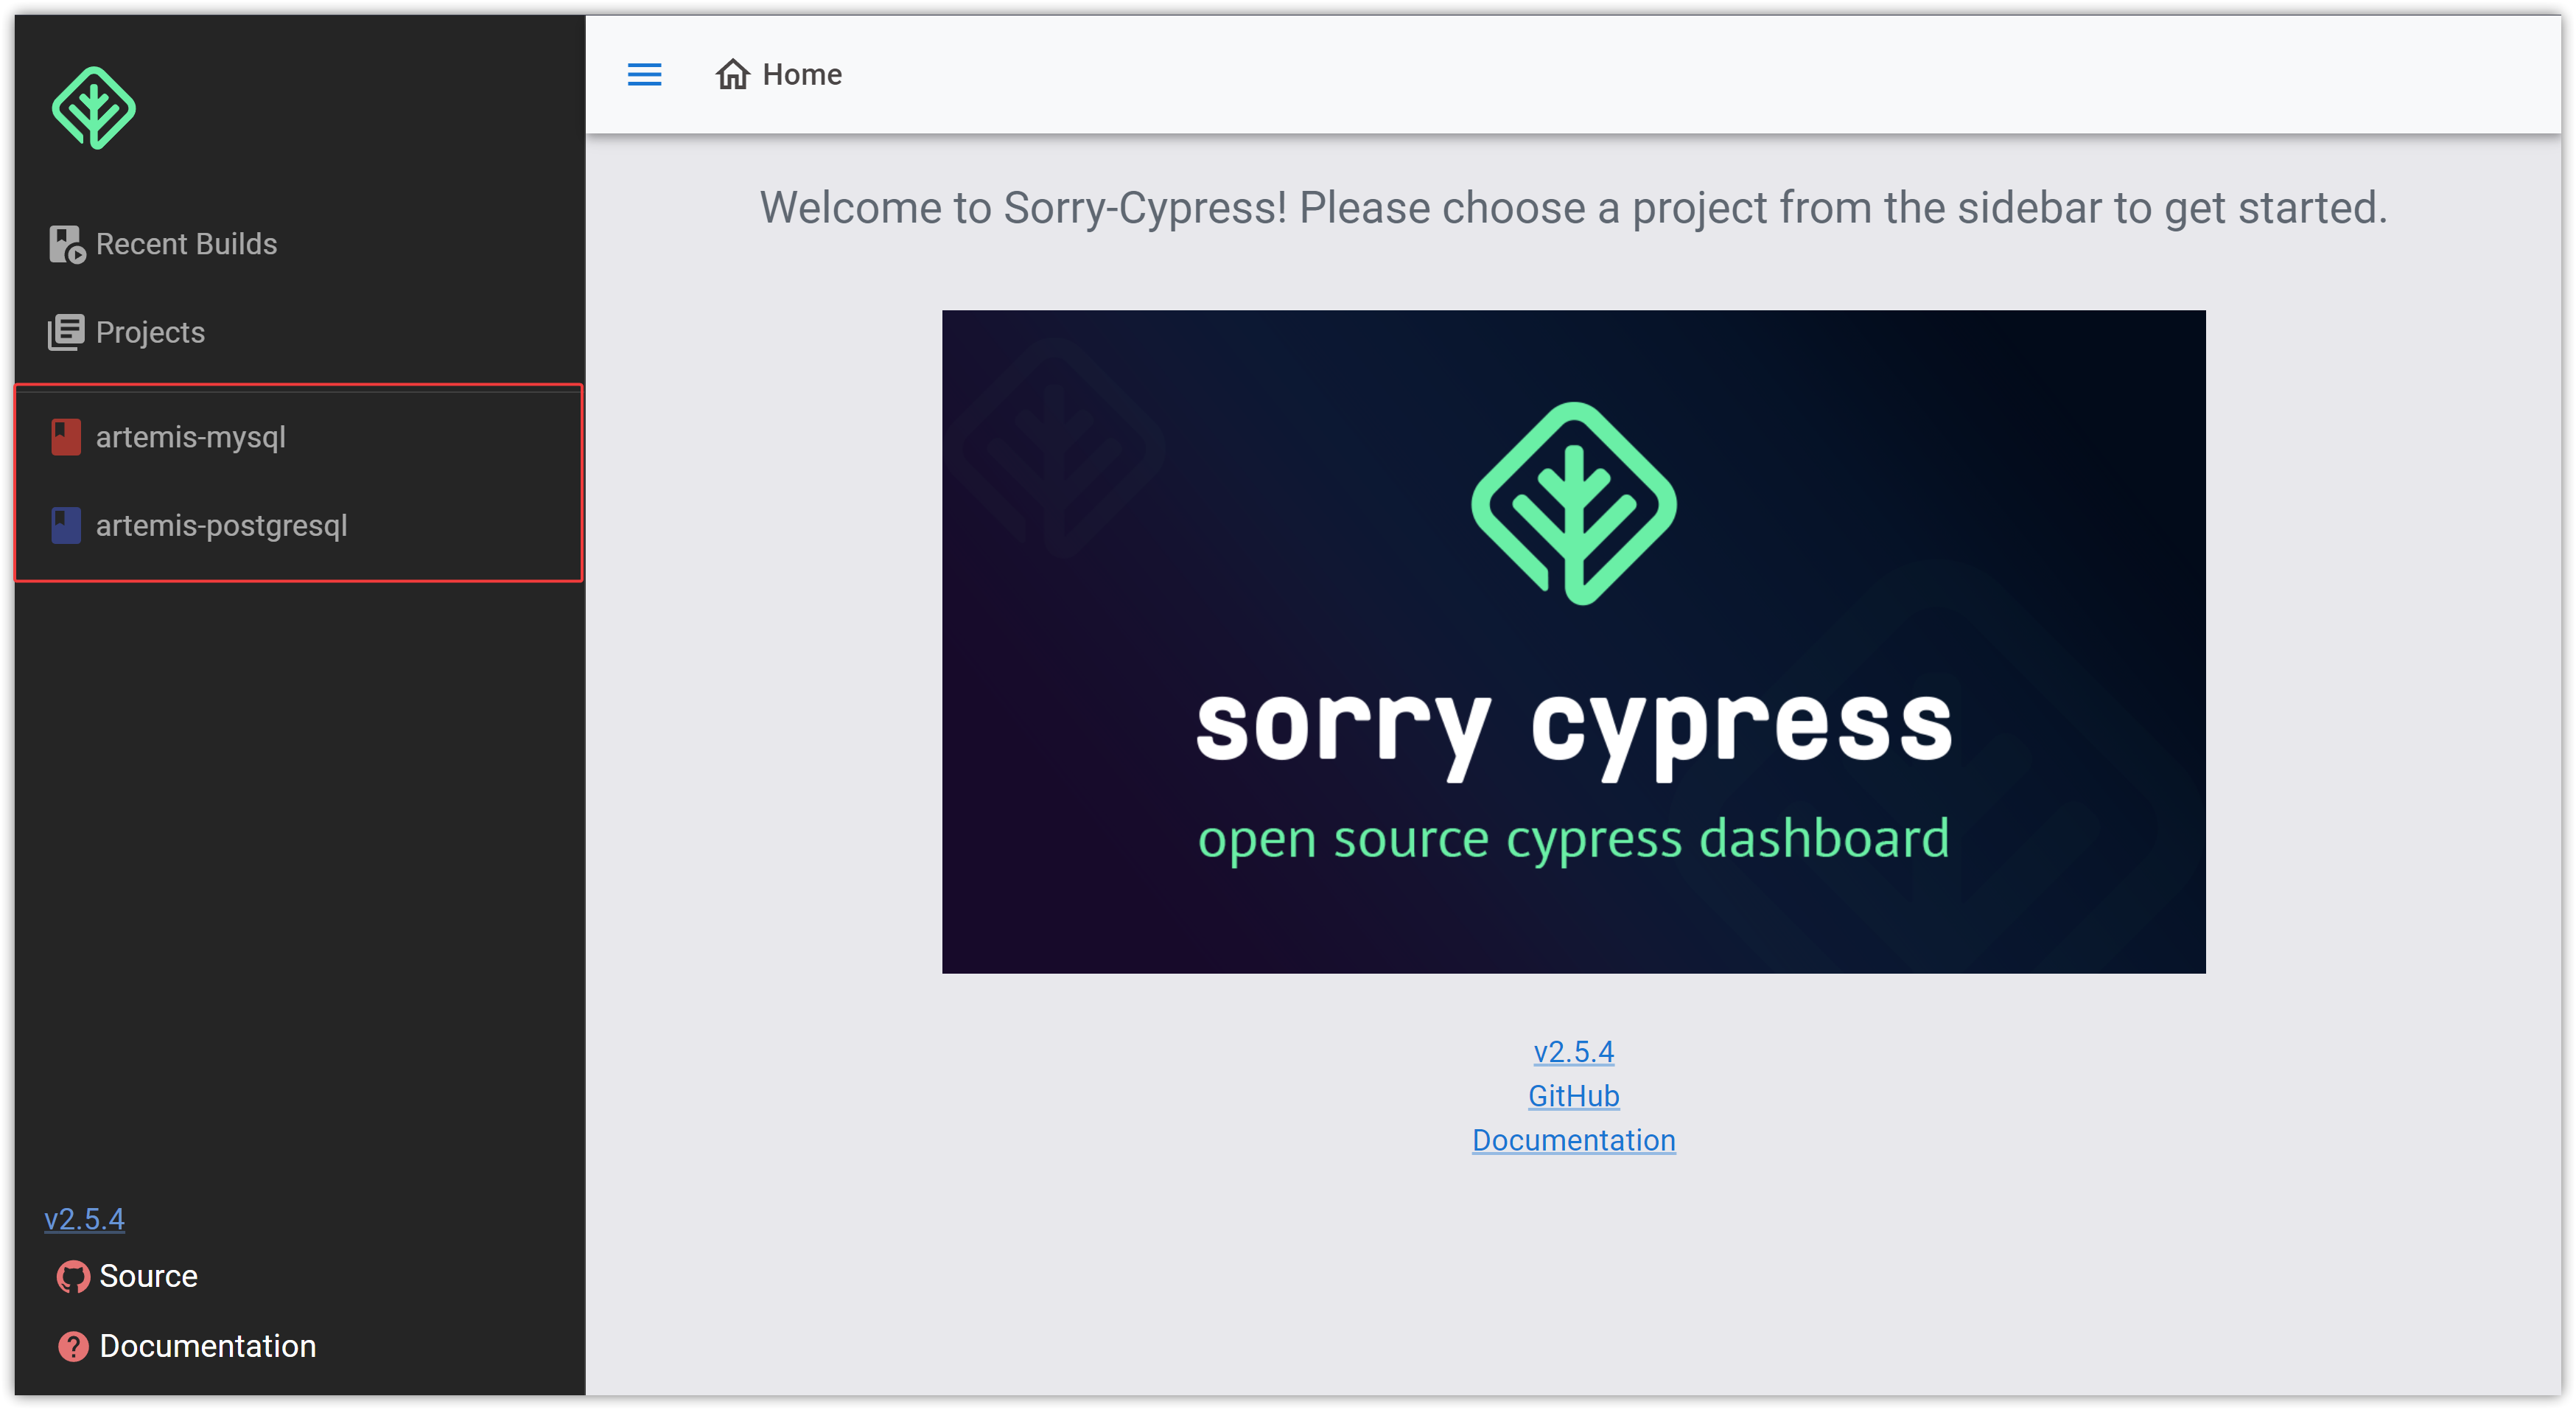
It’s based on Sorry Cypress a open source and selfhostable alternative to the paid cypress cloud.
You first have to select a project in the left sidebar (mysql or postgresql):
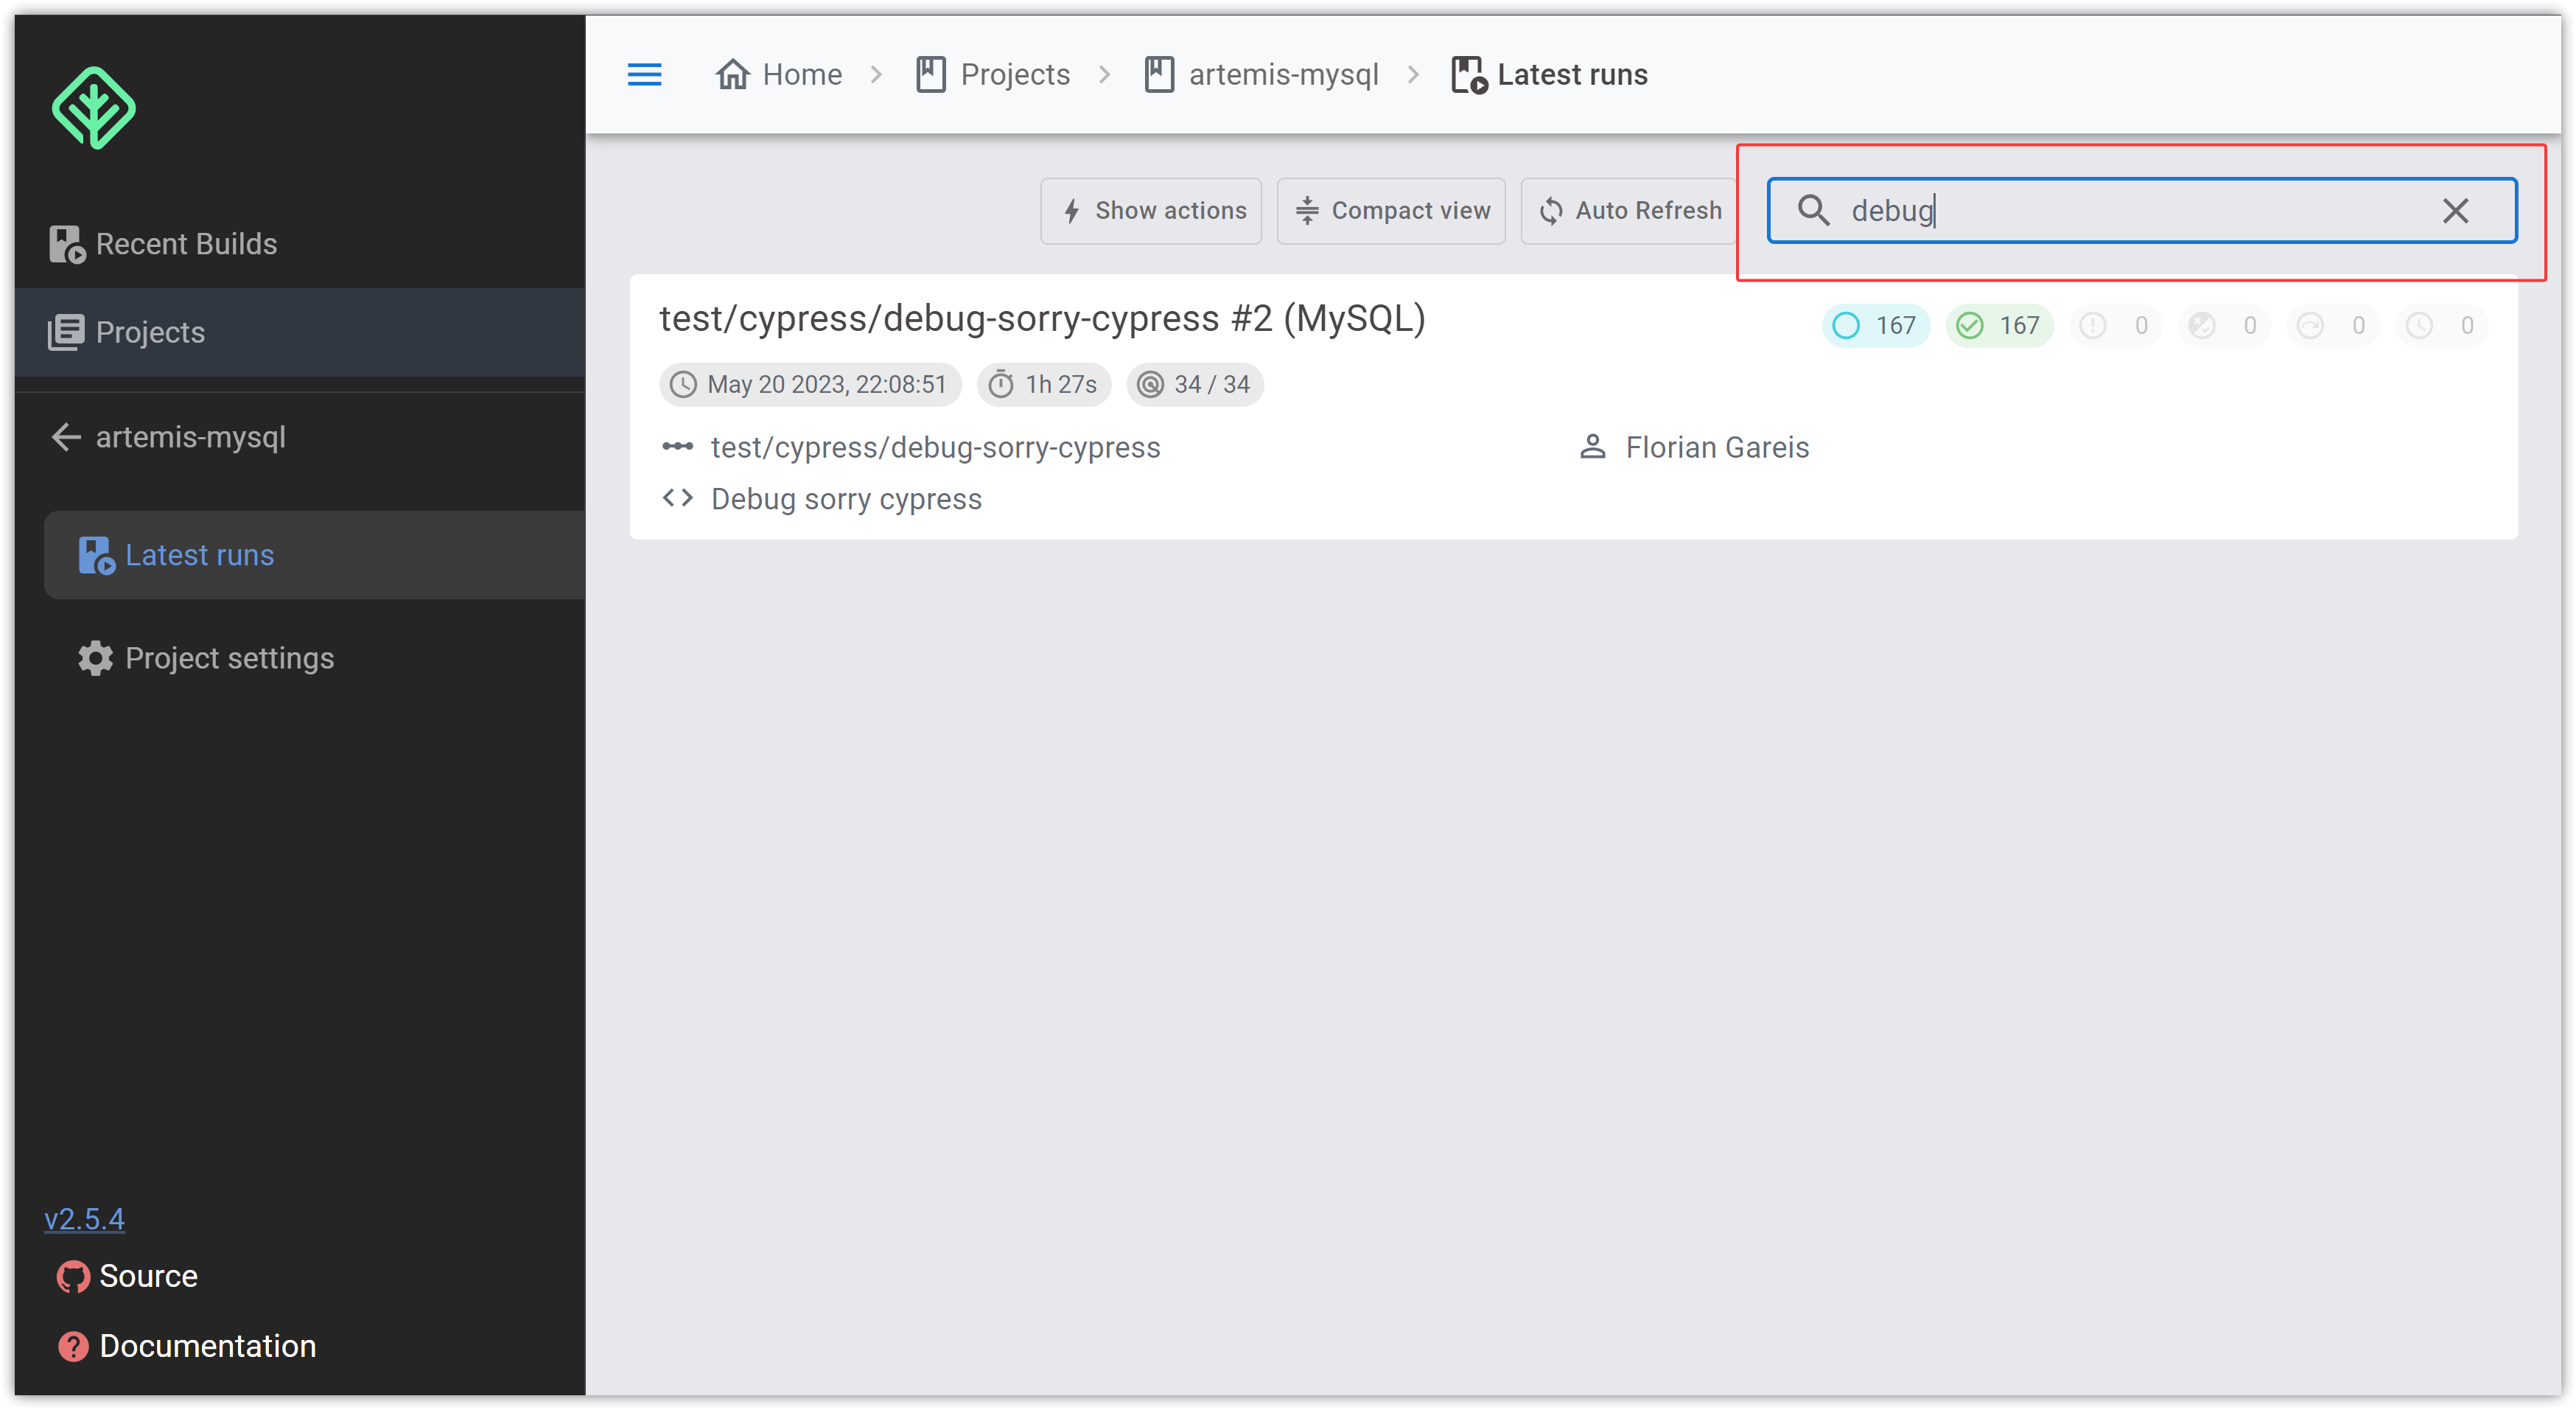
Now you get a list of the last runs. In the top right you can enter your branch name to filter the runs.
The name of the run consists of the branch name followed by the run number. The last part is MySQL or
PostgreSQL depending on the run environment. If you are in the MySQL project, you will of course only see the MySQL runs.
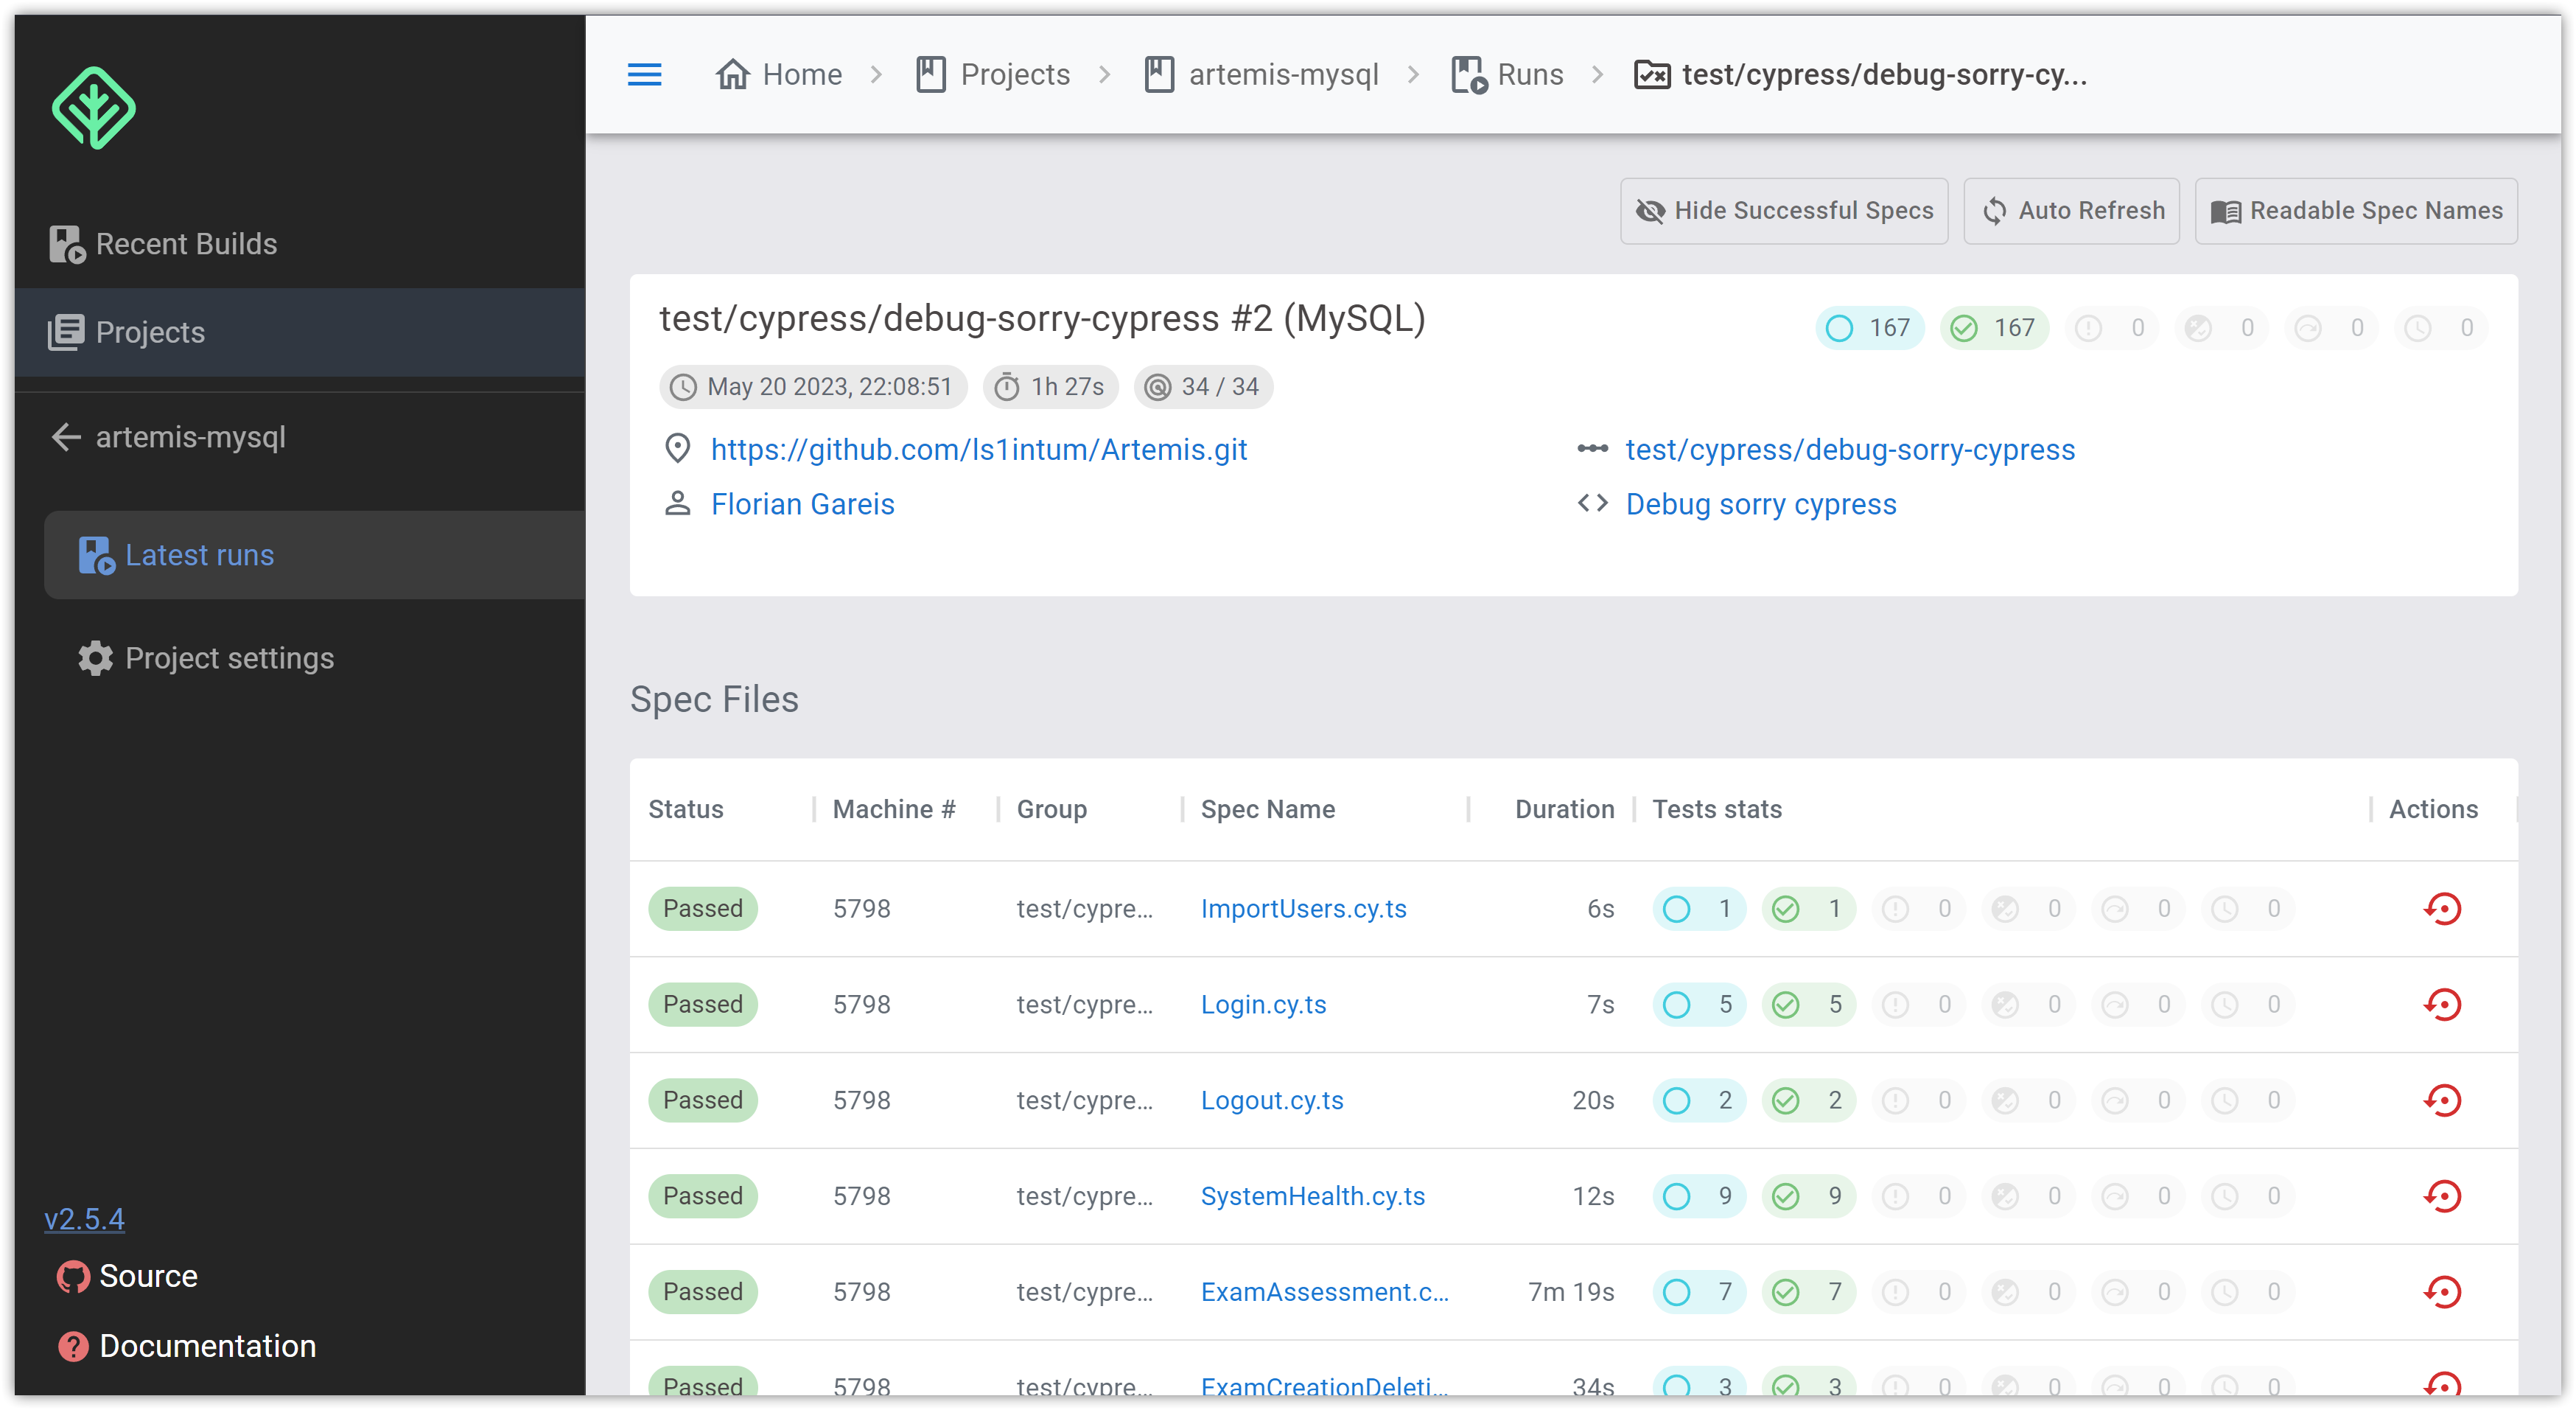
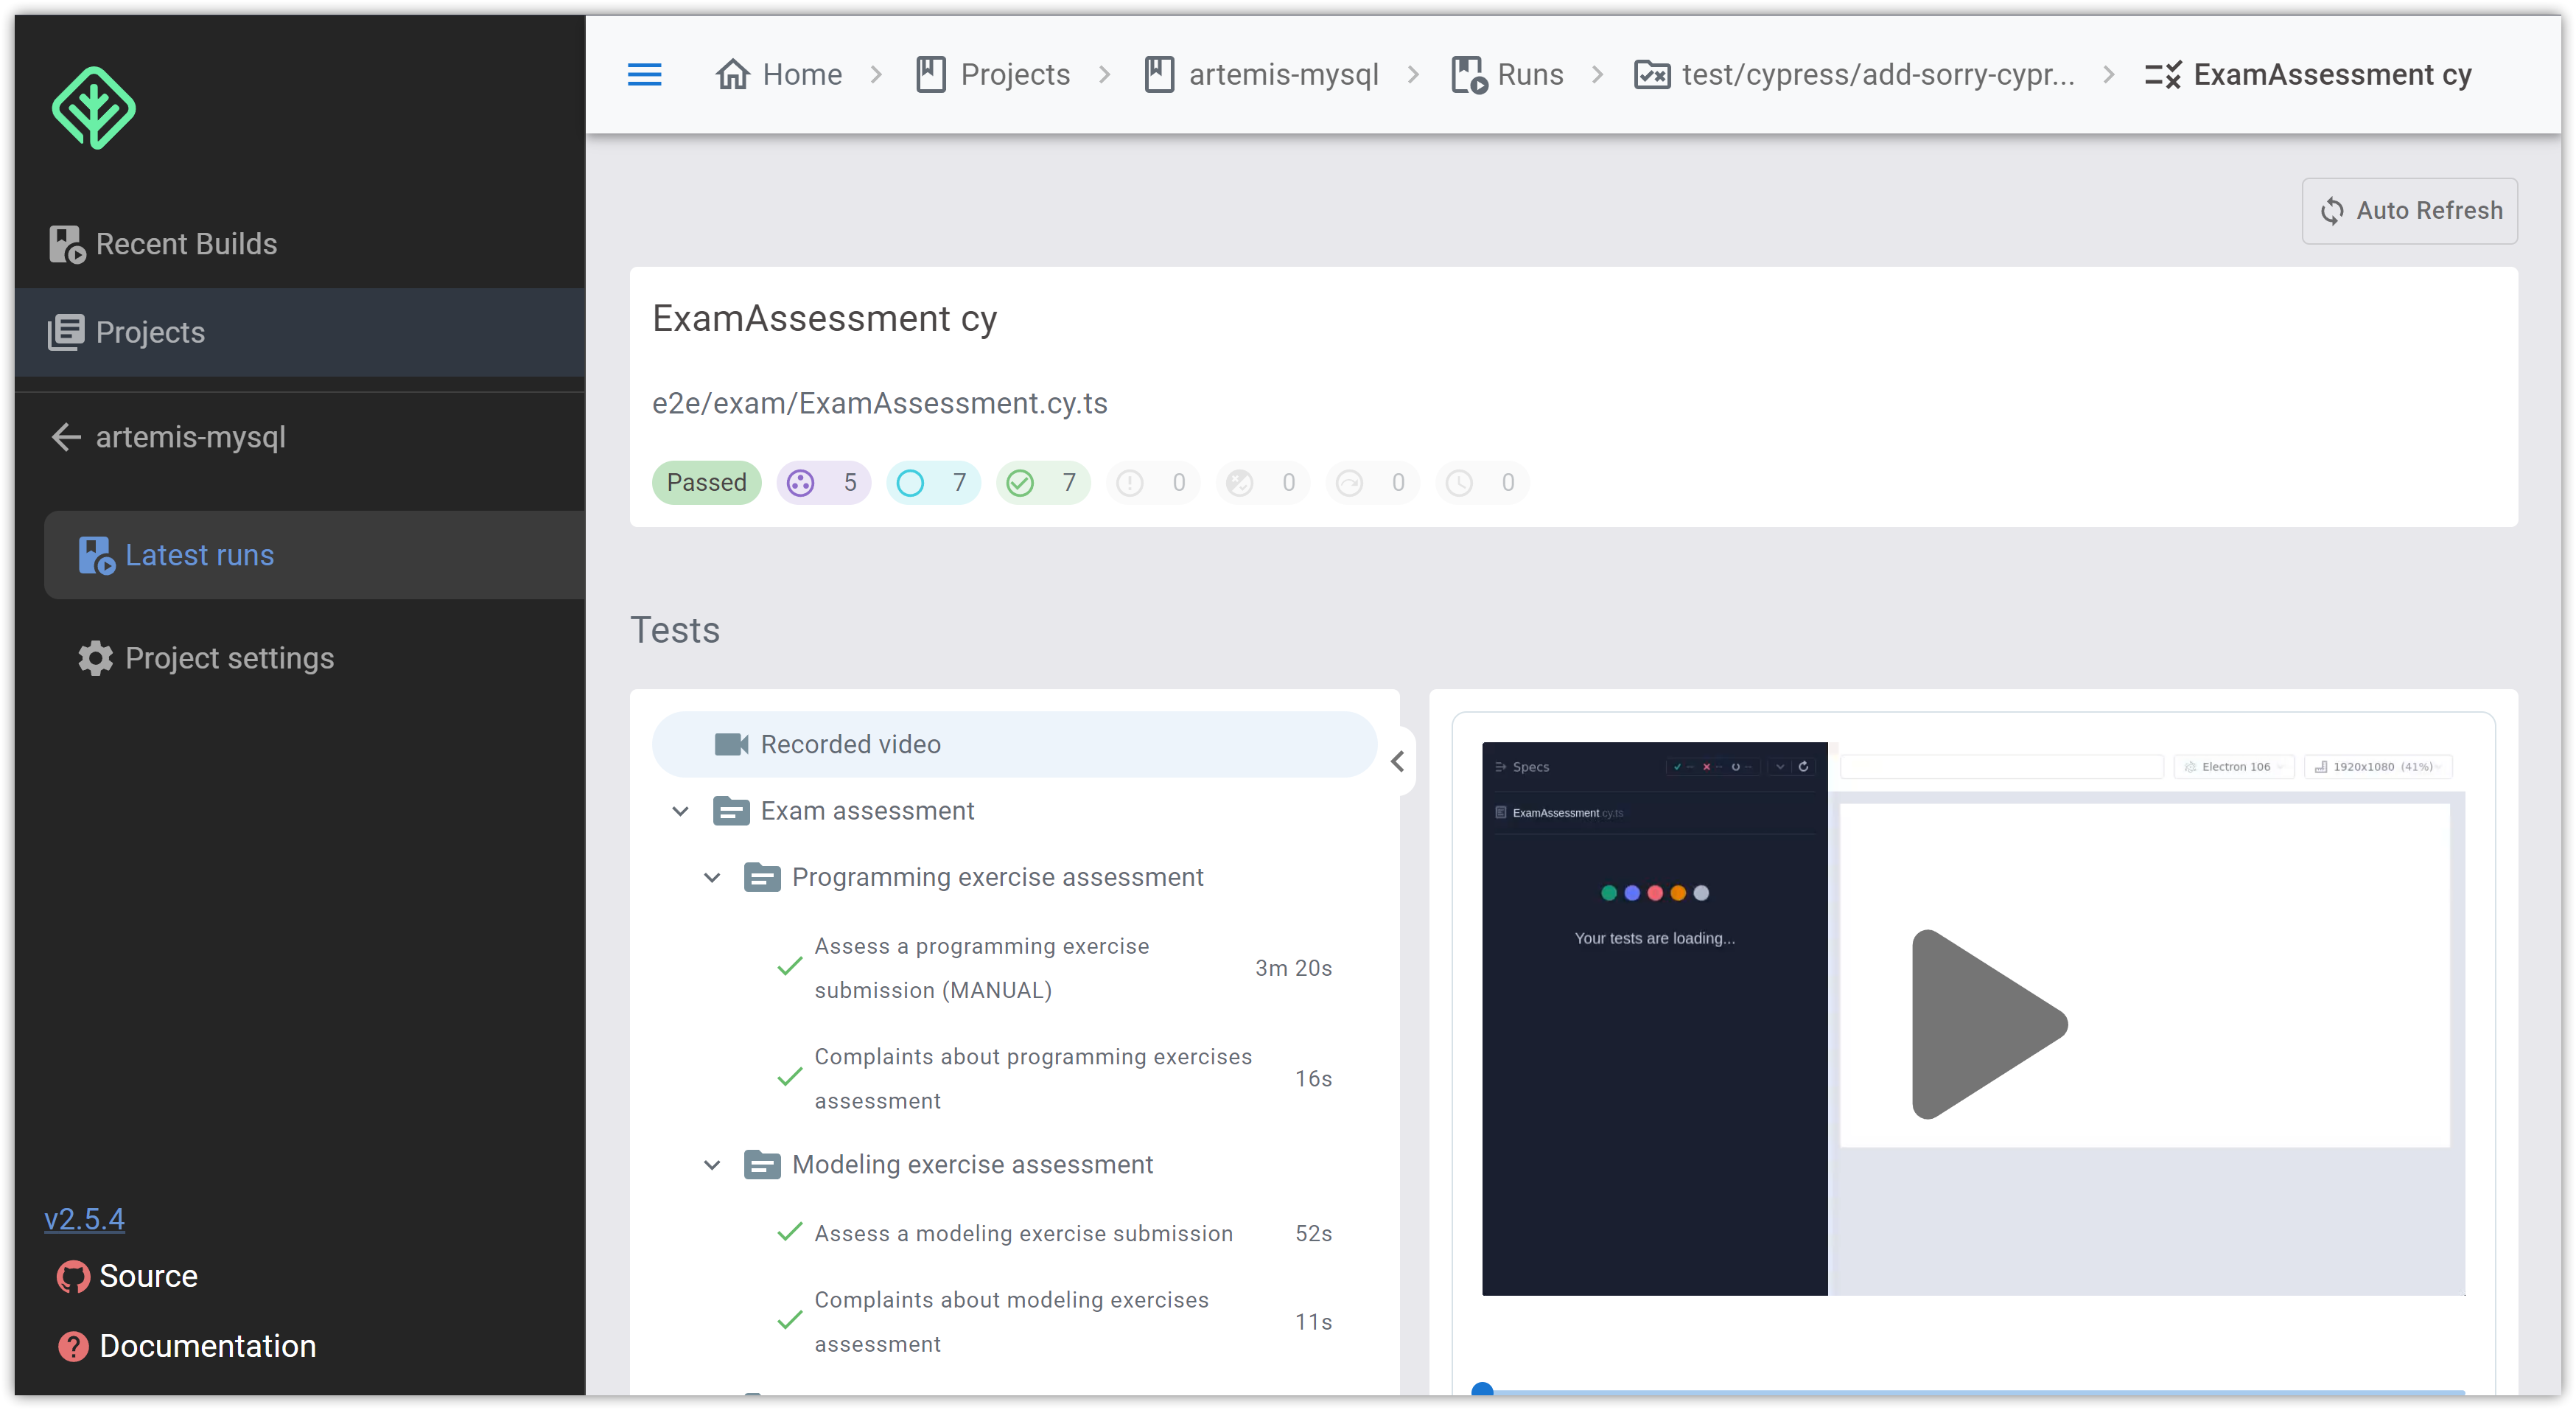
If you now click on the run, you can see detailed information about the test suites (corresponding
to components within Artemis). For each suite there is information about the run time, the successful/failed/flaky/skipped/ignored tests:
If you want to further debug one test suite, just click on it.
Here you can see the single tests on the left and a video on the right. This is a screen capture of
the actual run and can tremendously help debug failing E2E tests.
Sometimes the video can be a little bit to fast to debug easily. Just download the video on your
computer and play it with a video player, that allows you to slow the video down.
Note
For maintenance reasons videos are deleted after 14 days. So if you have a failing test, debug
it before this period to get access to the video.
Before writing tests, a deep understanding of the system and its requirements is crucial.
This understanding guides determining what needs testing and what defines a successful test.
The best way to understand is to consolidate the original system`s developer or a person actively working on this
component.
Identify Main Test Scenarios
Identify what are the main ways the component is supposed to be used. Try
the action with all involved user roles and test as many different inputs as
feasible.
Identify Edge Test Scenarios
Next to the main test scenarios, there are also edge case scenarios. These
tests include inputs/actions that are not supposed to be performed (e.g. enter
a too-long input into a field) and test the error-handling capabilities of the
platform.
Write Tests as Development Progresses
Rather than leaving testing until the end, write tests alongside each piece of
functionality. This approach ensures the code remains testable and makes
identifying and fixing issues as they arise easier.
Keep Tests Focused
Keep each test focused on one specific aspect of the code. If a test fails, it is
easier to identify the issue when it does not check multiple functionalities at
the same time.
Make Tests Independent
Tests should operate independently from each other and external factors like
the current date or time. Each test should be isolated. Use API calls for unrelated tasks, such as creating a
course, and UI interaction for the appropriate testing steps. This also involves
setting up a clean environment for every test suite.
Use Descriptive Test Names
Ensure each test name clearly describes what the test does. This strategy
makes the test suite easier to understand and quickly identifies which test
has failed.
Use Similar Test Setups
Avoid using different setups for each test suit. For example, always check
for the same HTTP response when deleting a course.
Do Not Ignore Failing Tests
If a test consistently fails, pay attention to it. Investigate as soon as possible
and fx the issue, or update the test if the requirements have changed.
Regularly Review and Refactor Your Tests
Tests, like code, can accumulate technical debt. Regular reviews for duplication,
unnecessary complexity, and other issues help maintain tests and enhance reliability.
Use HTML IDs instead of classes or other attributes
When searching for a single element within the DOM of an HTML page, try to use ID selectors as much as possible.
They are more reliable since there can only be one element with this ID on one single page according to the HTML
Every execution of the Cypress test suite requires its own deployment of Artemis.
The easiest way to accomplish this is to deploy Artemis locally on the build agent, which executes the Cypress tests.
Using dockercompose we can start a MySQL database and the Artemis server locally on the build agent and
connect it to the prelive system in the university data center.
Artemis Deployment on Bamboo Build Agent for Cypress
In total there are three Docker containers started in the Bamboo build agent:
MySQL
This container starts a MySQL database and exposes it on port 3306.
The container automatically creates a new database ‘Artemis’ and configures it
with the recommended settings for Artemis.
The Cypress setup reuses the already existing
MySQL docker image
from the standard Artemis Docker setup.
Artemis
The Docker image for the Artemis container is created from the already existing
Dockerfile.
When the Bamboo build of the Cypress test suite starts, it retrieves the Artemis executable (.war file)
from the Artemis build plan.
Upon creation of the Artemis Docker image the executable is copied into the image together with configuration files
for the Artemis server.
The main configuration of the Artemis server are contained in the
Cypress environment configuration files.
However, those files do not contain any security relevant information.
Security relevant settings like the credentials to the Jira admin account in the prelive system are instead passed to
the Docker container via environment variables.
This information is accessible to the Bamboo build agent via
Bamboo plan variables.
The Artemis container is also configured to
depend on
the MySQL container and uses
health checks
to wait until the MySQL container is up and running.
Cypress
Cypress offers a variety of docker images
to execute Cypress tests.
We use an image which has the Cypress operating system dependencies and a Chrome browser installed.
However, Cypress itself is not installed in
these images.
This is convenient for us because the image is smaller and the Artemis Cypress project requires
additional dependencies to fully function.
Therefore, the Artemis Cypress Docker container is configured to install all dependencies
(using npmci) upon start. This will also install Cypress itself.
Afterwards the Artemis Cypress test suite is executed.
The necessary configuration for the Cypress test suite is also passed in via environment variables.
Furthermore, the Cypress container depends on the Artemis container and is only started
once Artemis has been fully booted.
Bamboo webhook
The Artemis instance deployed on the build agent is not publicly available to improve the security of this setup.
However, in order to get the build results for programming exercise submissions Artemis relies on a webhook from Bamboo
to send POST requests to Artemis.
To allow this, an extra rule has been added to the firewall allowing only the Bamboo instance in the prelive system
to connect to the Artemis instance in the build agent.
Timing
As mentioned above, we want the Cypress test suite to be executed whenever new commits are pushed to a Git branch.
This has been achieved by adding the
Cypress Github build plan
as a child dependency
to the Artemis Build build plan.
The Artemis Build build plan is triggered whenever a new commit has been pushed to a branch.
The Cypress build plan is only triggered after a successful build of the Artemis executable.
This does imply a delay (about 10 minutes on average) between the push of new commits and the execution
of the Cypress test suite, since the new Artemis executable first has to be built.
NOTE: The Cypress test suite is only automatically executed for internal branches and pull requests
(requires access to this GitHub repository) not for external ones.
In case you need access rights, please contact the maintainer Stephan Krusche.
There is another build plan on Bamboo which executes the Cypress test suite.
This build plan
deploys the latest Artemis executable of the develop branch on an already configured test environment (test server 3)
and executes the Cypress test suite against it.
This build plan is automatically executed every 8 hours and verifies that test server 3 is working properly.
Artemis Deployment on test environment for Cypress
The difference of this setup is that the Artemis server is deployed on a separate environment which already contains
the necessary configuration files for the Artemis server to connect to the prelive system.
The Docker image for the Cypress container should be exactly the same as the Cypress image used in
the docker compose file for the deployment on a Bamboo build agent.
The Artemis Dockerfile as well as the MySQL image are already maintained because they are used in
other Artemis Docker setups.
Therefore, only Cypress and the Cypress Docker image require active maintenance.
Since the Cypress test suite simulates a real user, it makes sense to execute the test suite with
the latest Chrome browser.
The Cypress Docker image we use always has a specific Chrome version installed.
Therefore, the
docker-compose file
as well as the
build plan configuration for the Cypress tests on test server 3
should be updated every month to make sure that the latest Cypress image for the Chrome browser is used.