Setup for Programming Exercises with Bamboo, Bitbucket and Jira
This page describes how to set up a programming exercise environment based on Bamboo, Bitbucket and Jira.
Therefore, a check is included within the BambooBuildPlanService that ensures that builds are not started in Docker agents if the development setup is present.
Prerequisites:
Content of this document
Docker-Compose
Before you start the docker-compose, check if the bamboo version in the
build.gradle (search for com.atlassian.bamboo:bamboo-specs) is
equal to the bamboo version number in the Dockerfile of bamboo stored in
src/main/docker/bamboo/Dockerfile. If the version number is not
equal adjust the version number in the Dockerfile.
Execute the docker-compose file atlassian.yml stored in
src/main/docker e.g. with
docker-compose -f src/main/docker/atlassian.yml up -d
Error Handling: It can happen that there is an overload with other
docker networks
ERROR: Pool overlaps with other one on this address space. Use the
command docker network prune to resolve this issue.
Configure Bamboo, Bitbucket and Jira
By default, the Jira instance is reachable under localhost:8081, the
Bamboo instance under localhost:8085 and the Bitbucket instance
under localhost:7990.
Get evaluation licenses for Atlassian products: Atlassian Licenses
Create an admin user with the same credentials in all 3 applications. Create a sample project in Jira. Also, you can select the evaluation/internal/test/dev setups if you are asked. Select a
Bitbucket (Server)license if asked. Do not connect Bitbucket with Jira yet.- Execute the shell script
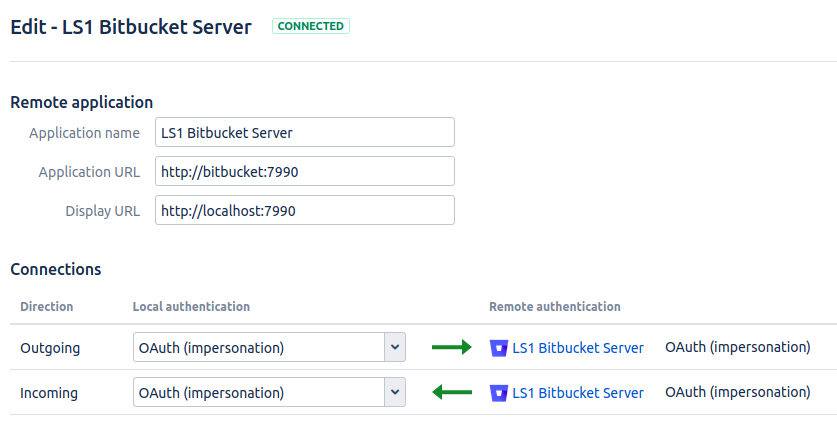
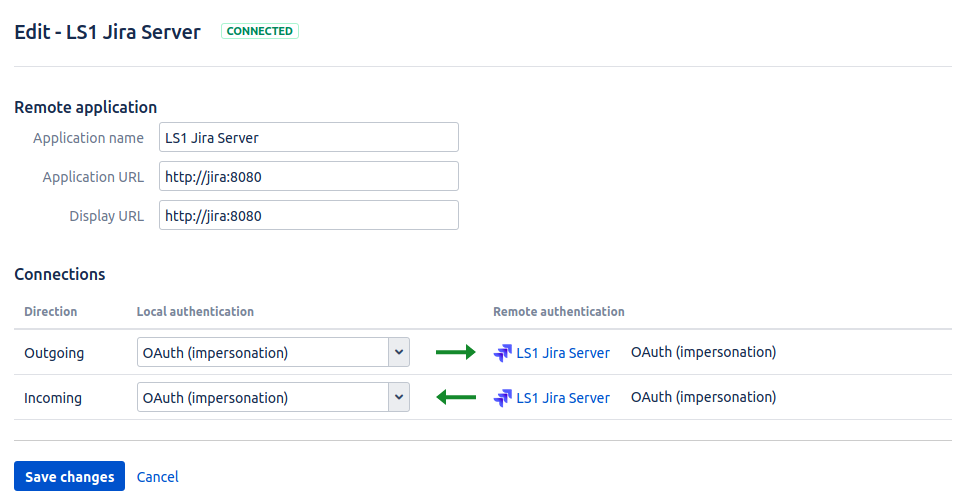
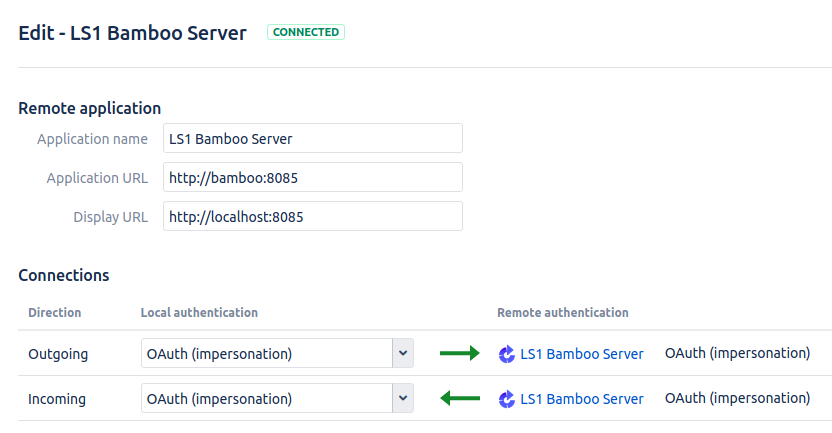
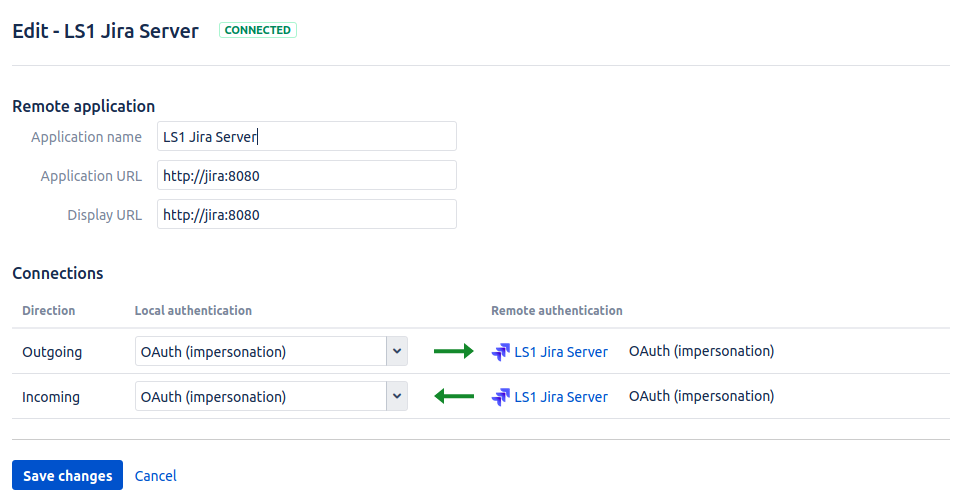
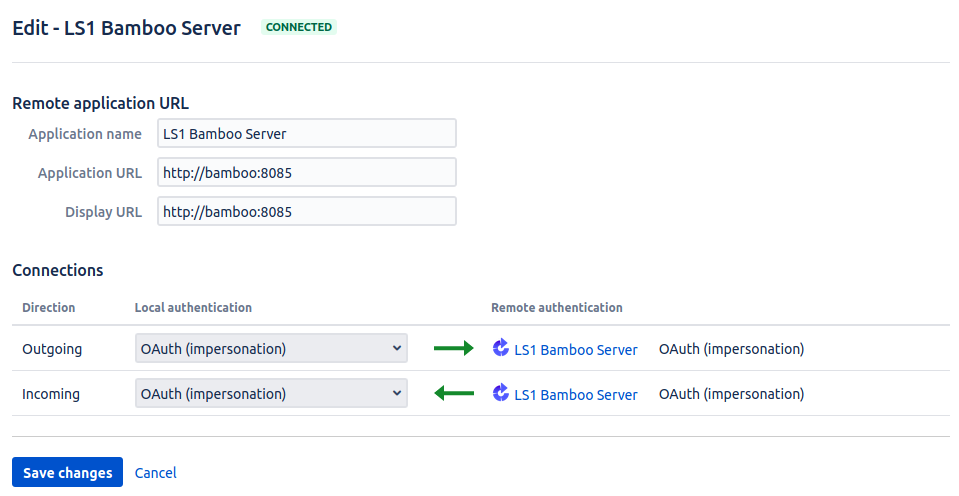
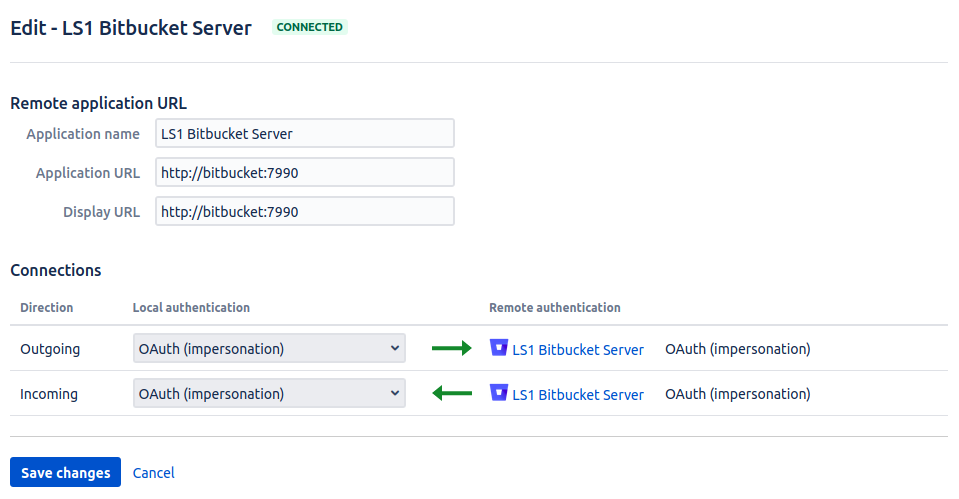
atlassian-setup.shin thesrc/main/dockerdirectory (e.g. withsrc/main/docker/./atlassian-setup.sh). This script creates groups, users ([STRIKEOUT:and adds them to the created groups] NOT YET) and disabled application links between the 3 applications Enable the created application links between all 3 application (OAuth Impersonate). You manually have to adjust the Display URL for the Bamboo → Bitbucket AND Bitbucket → Bamboo URl to
http://localhost:7990andhttp://localhost:8085.The script has already created users and groups but you need to manually assign the users into their respective group in Jira. In our test setup, users 1-5 are students, 6-10 are tutors and 11-15 are instructors. The usernames are artemis_test_user_{1-15} and the password is again the username. When you create a course in artemis you have to manually choose the created groups(students, tutors, instructors).
Use the user directories in Jira to synchronize the users in bitbucket and bamboo:
Go to Jira → User management → Jira user server → Add application → Create one application for bitbucket and one for bamboo → add the IP-address
0.0.0.0/0to IP Addresses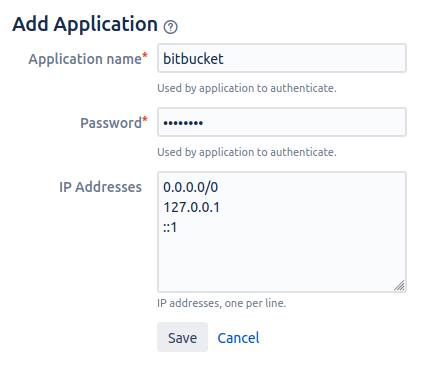
Go to Bitbucket and Bamboo → User Directories → Add Directories → Atlassian Crowd → use the URL
http://jira:8080as Server URL → use the application name and password which you used in the previous step. Also, you should decrease the synchronisation period (e.g. to 2 minutes). Press synchronise after adding the directory, the users and groups should now be available.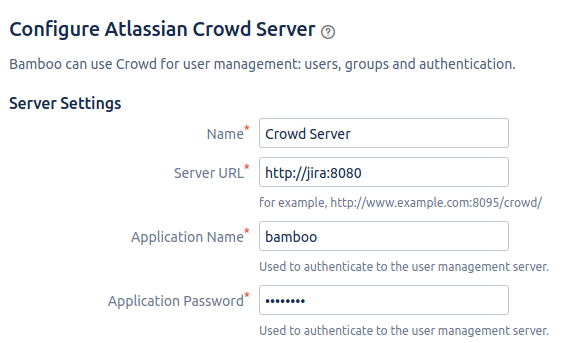
6. In Bamboo create a global variable named
SERVER_PLUGIN_SECRET_PASSWORD, the value of this variable will be used
as the secret. The value of this variable should be then stored in
src/main/resources/config/application-artemis.yml as the value of
artemis-authentication-token-value.
7. Download the bamboo-server-notifaction-plugin and add it to bamboo. Go to Bamboo → Manage apps → Upload app → select the downloaded .jar file → Upload
Add Maven and JDK:
Go to Bamboo → Server capabilities → Add capabilities menu → Capability type
Executable→ select typeMaven 3.x→ insertMaven 3as executable label → insert/artemisas path.Add capabilities menu → Capability type
JDK→ insertJDK 12as JDK label → insert/usr/lib/jvm/java-14-oracleas Java home.
Configure Artemis
Modify
src/main/resources/config/application-artemis.yml
repo-clone-path: ./repos/
repo-download-clone-path: ./repos-download/
encryption-password: artemis-encrypt     # arbitrary password for encrypting database values
user-management:
    use-external: true
    external:
        url: http://localhost:8081
        user:  <jira-admin-user>
        password: <jira-admin-password>
        admin-group-name: instructors
    internal-admin:
        username: artemis_admin
        password: artemis_admin
version-control:
    url: http://localhost:7990
    user:  <bitbucket-admin-user>
    password: <bitbuckt-admin-password>
continuous-integration:
    url: http://localhost:8085
    user:  <bamboo-admin-user>
    password: <bamboo-admin-password>
    vcs-application-link-name: LS1 Bitbucket Server
    empty-commit-necessary: true
    artemis-authentication-token-value: <artemis-authentication-token-value>
Modify the application-dev.yml
server:
    port: 8080                                         # The port of artemis
    url: http://172.20.0.1:8080                        # needs to be an ip
In addition, you have to start Artemis with the profiles bamboo,
bitbucket and jira so that the correct adapters will be used,
e.g.:
--spring.profiles.active=dev,bamboo,bitbucket,jira,artemis
Please read Setup Guide for more details.
How to verify the connection works?
Artemis → Jira
You can login to Artemis with the admin user you created in Jira
Artemis → Bitbucket
You can create a programming exercise
Artemis → Bamboo
You can create a programming exercise
Bitbucket → Bamboo
The build of the students repository gets started after pushing to it
Bitbucket → Artemis
When using the code editor, after clicking on Submit, the text Building and testing… should appear.
Bamboo → Artemis
The build result is displayed in the code editor.